
A worn-out, cracked driveway looks bad and can become a hazard. Installing an asphalt driveway is one of the best ways to enhance curb appeal while ensuring durability and ease of maintenance. If you plan to have a new driveway installed, knowing what the process entails is essential. Understanding each step helps set realistic expectations and allows you to prepare accordingly.
Choosing a Contractor
Before installation begins, selecting a reputable contractor is essential. Homeowners evaluating options consider experience, timeline, and the asphalt driveway cost. A good contractor will assess your driveway needs, provide a clear timeline, and ensure all necessary equipment and materials are ready. Once you’ve finalized your choice, they will schedule the installation date and assemble a crew to carry out the work.
Preparing the Area
Removing the Old Driveway
When you decide to resurface or replace your driveway, and replacement is necessary, the first step is tearing out the old pavement. A team will arrive with heavy equipment, including a skid steer and vibratory roller, to remove old asphalt or concrete. They will cut back overgrown grass along the edges to prepare for the new driveway installation and ensure the driveway is at its proper width. Following the contractor’s guidance, it may take a few days, but it’s best to wait at least 48 hours before driving on it. This step is essential for achieving a clean and accurate installation.
Addressing Soil and Gravel Issues
After removing the old surface, the crew will examine the subsoil. If they find it unstable, they will improve it before installing the new surface. They may add extra gravel to enhance the foundation’s strength. Establishing a solid base is essential for ensuring the new driveway lasts long.
Making Adjustments
If homeowners are widening their driveway or altering its shape, this is the stage when those changes take place. The team will identify and excavate additional areas, install extra gravel where necessary, and make all required adjustments before proceeding.
Allowing Time for Homeowner Feedback
After preparation, the driveway area is left open for a few days. Homeowners are encouraged to use the area, driving in and out, to get a feel for any modifications. The crew will use string lines to outline the new driveway’s dimensions, allowing homeowners to visualize the final layout before paving begins.
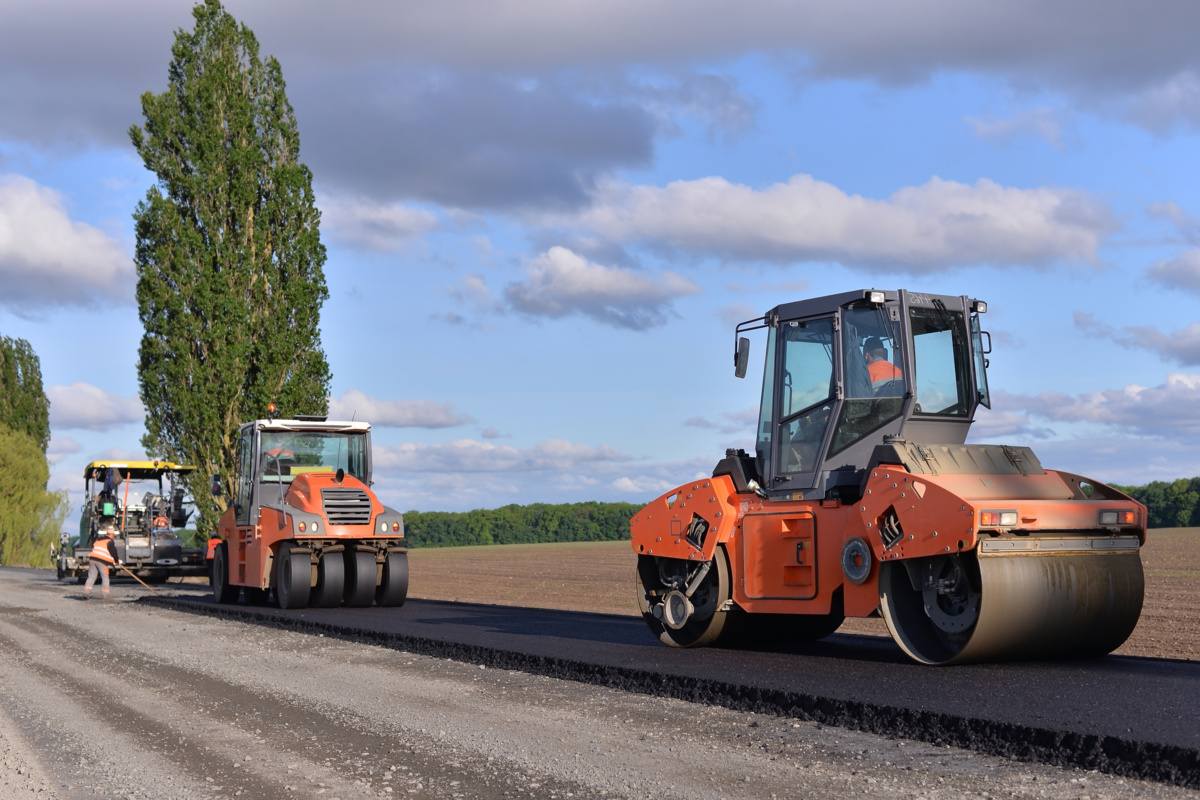
Laying the Asphalt
The Paving Process
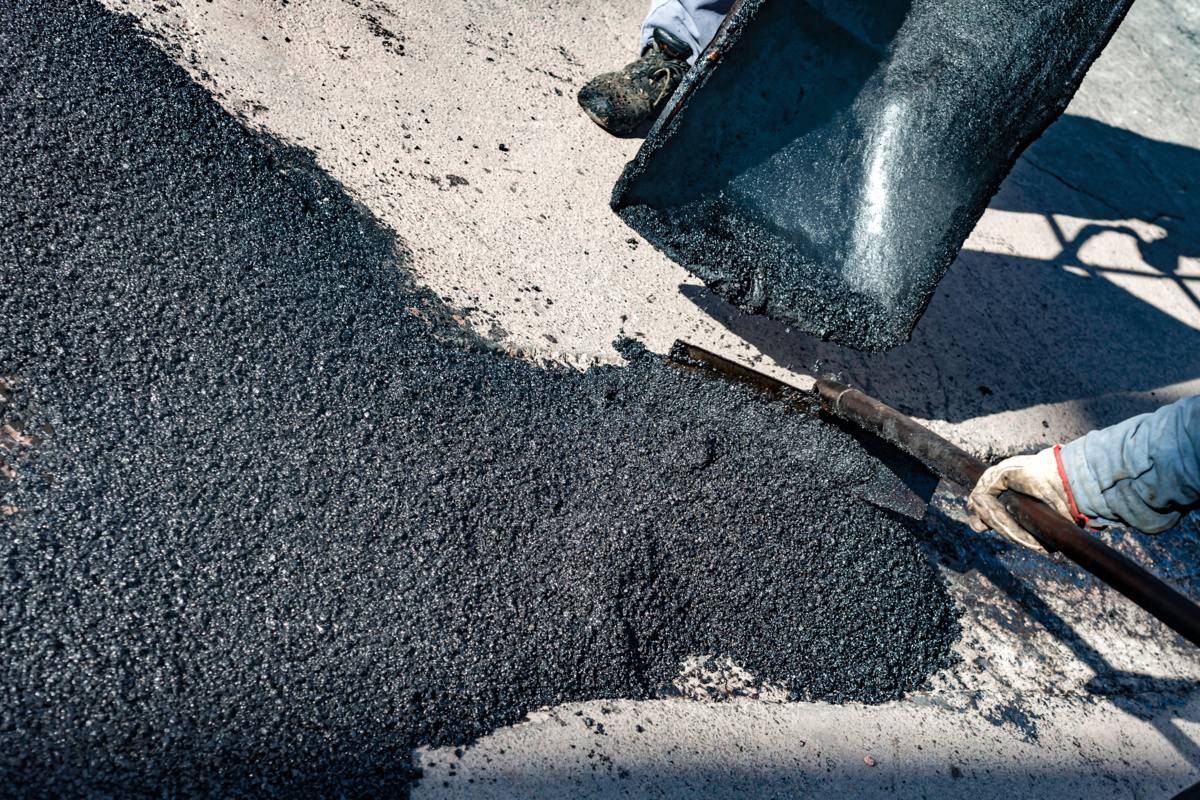
About a week after the preparation phase, the paving crew arrives, and the process, a key step detailed in any asphalt driving paving guide, begins. It starts with setting a base layer inside the garage for a smooth transition, using water to prevent oil from sticking.
Next, the asphalt is spread using specialized paving equipment. The material is laid down in multiple passes, ensuring even coverage. In most cases, machinery does most of the work, with workers handling the finer details at the edges to ensure a clean finish.
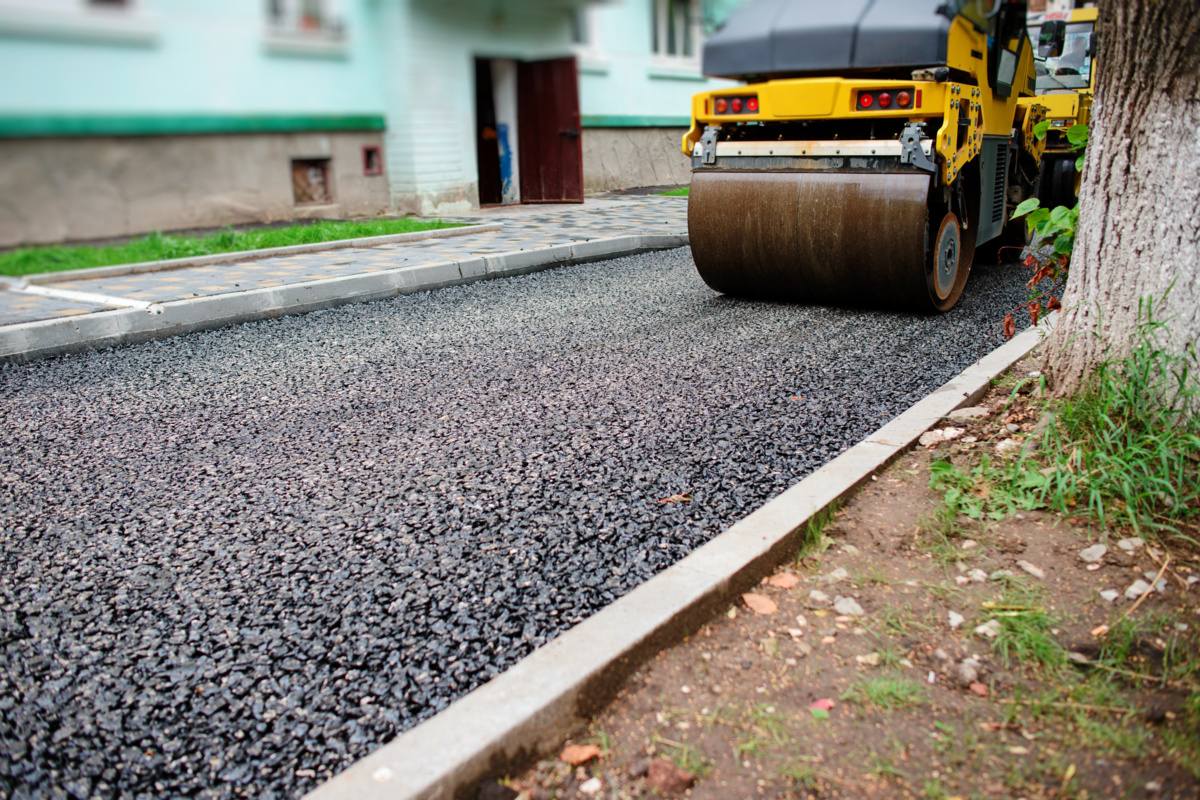
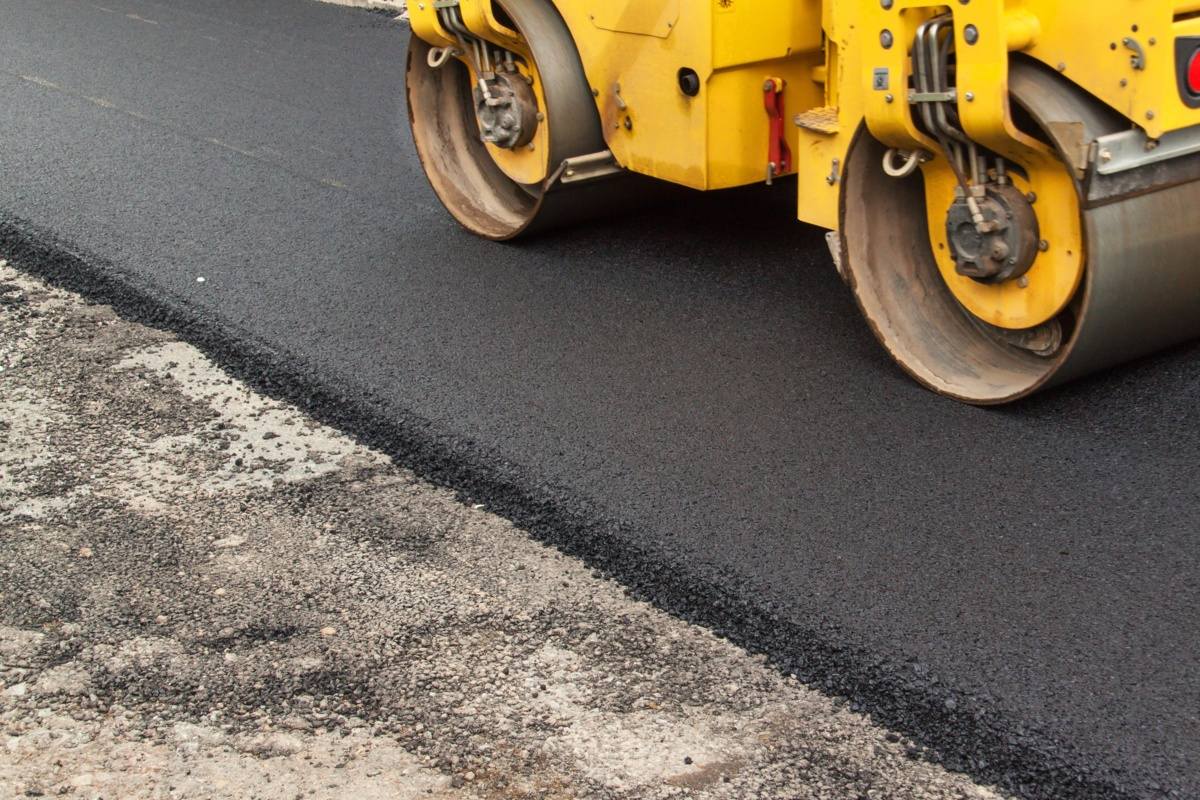
Compacting the Asphalt
After the asphalt is spread, a vibratory roller compacts the material to achieve the necessary density. Proper compaction is crucial for driveway longevity, as it minimizes air pockets and strengthens the surface. The rolling process continues for 30-45 minutes to ensure a firm and stable finish.
Final Checks and Cleanup
Verifying Drainage
Once the asphalt driveway is in place, the crew performs a final check to ensure proper drainage. The process involves pouring water on the surface to see if it flows away from the house and other structures as intended. Ensuring adequate drainage from day one is a critical aspect of how to maintain your asphalt driveway for long-term longevity, helping prevent water pooling or erosion. We promptly address any identified issues. We maintain a smooth workflow and enhance overall performance by taking immediate action.
Tidying Up
After completing the asphalt driveway installation in Minneapolis, the team thoroughly cleans the work area by removing all loose debris, extra materials, and tools. Our team will tape off the newly paved surface to prevent premature use while it sets. This precaution ensures that the surface cures properly before traffic or footfall occurs. A properly installed asphalt driveway should be ready for light use within a few days, but it’s best to wait at least 48 hours before driving on it, following the contractor’s guidance.
Expert Asphalt Installation: Get Started Today!

Installing an asphalt driveway is a structured process that involves careful preparation, precise paving, and proper finishing touches. Each step is crucial for creating a durable, long-lasting driveway, from removing the old surface to compacting the final layer. By knowing what to expect, homeowners can confidently prepare for the installation and enjoy the benefits of a fresh, smooth driveway for years to come. If you’re ready to start, contact Richfield Blacktop today.