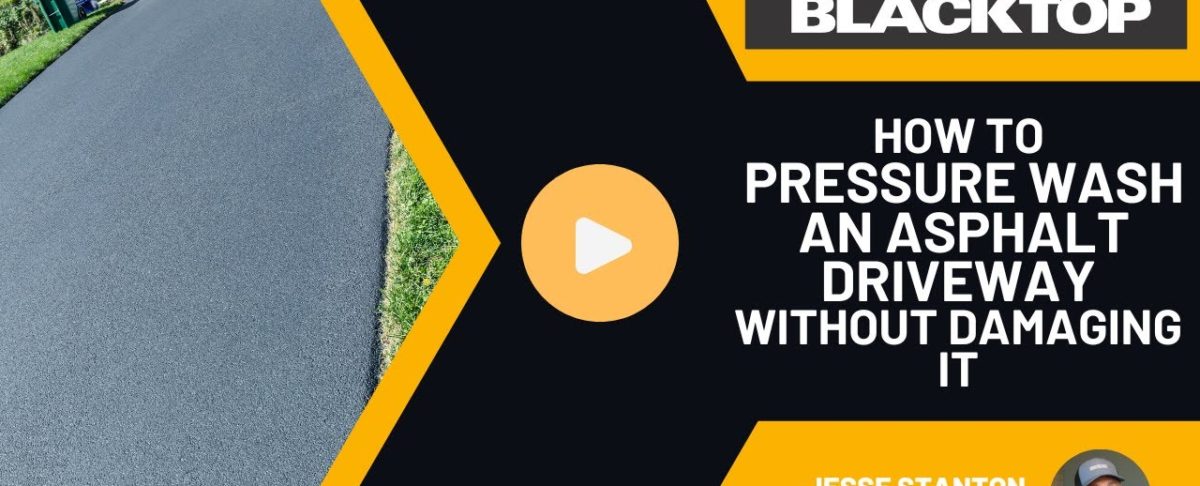
A pressure washer is a powerful tool that can make cleaning an asphalt driveway quick and efficient. However, if misused, it can also cause damage by breaking down the adhesive bond that holds the asphalt together. To ensure you clean your driveway effectively without causing harm, it’s essential to use the proper techniques, pressure settings, and cleaning solutions. This guide will walk you through the safest way to pressure wash an asphalt driveway without damaging it.
Understanding Asphalt Composition and Pressure Washing Risks
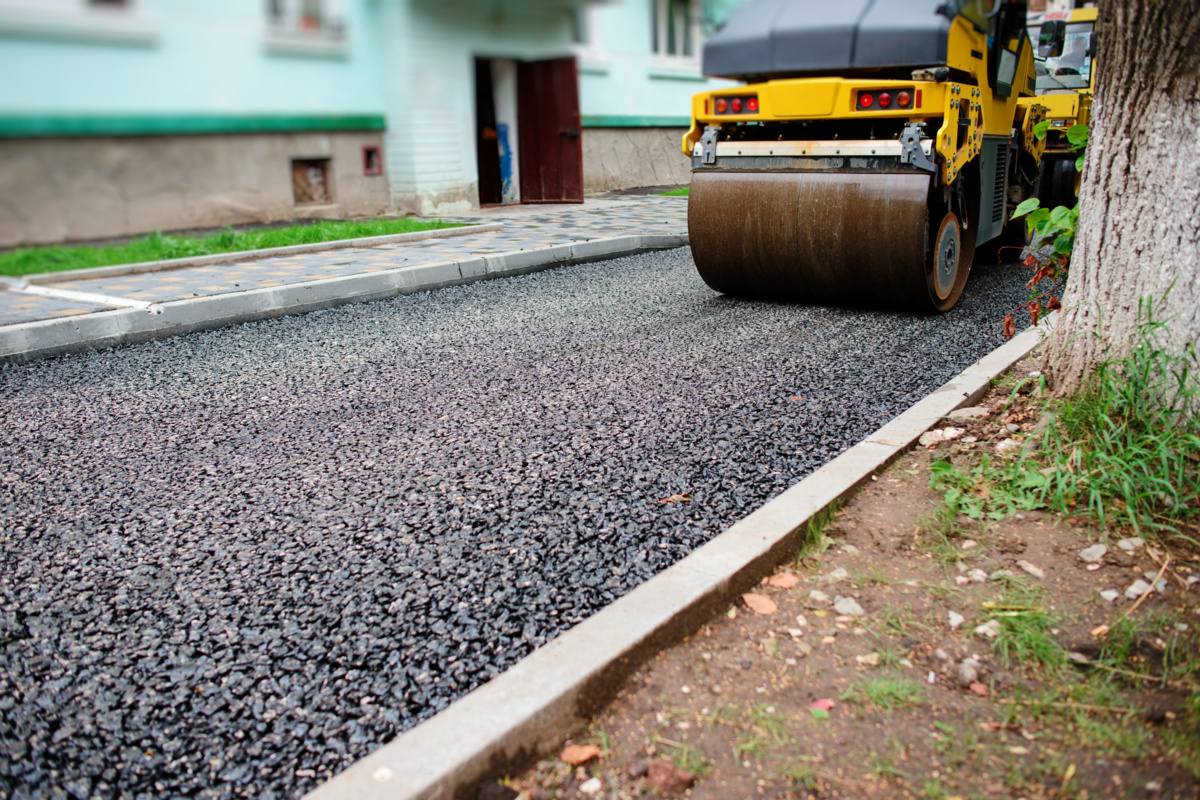
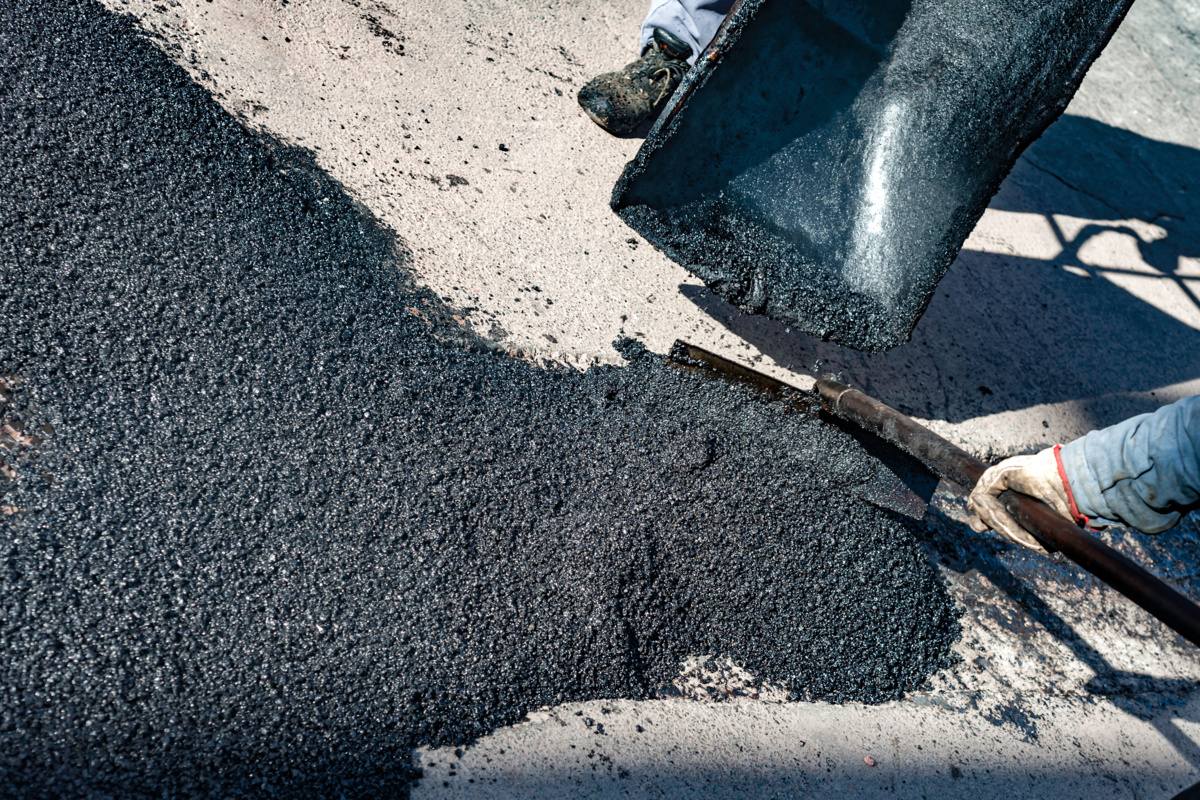
As any comprehensive asphalt driveway cleaning guide would advise, it’s essential to understand that asphalt is a mixture of sand and rock held together by asphalt oil. This adhesive is necessary for maintaining the integrity of your driveway. When using high-pressure jets to wash a concentrated area, you risk breaking down the bond of the asphalt, leading to deterioration over time. Instead of removing just the dirt and stains, you may wash away parts of the driveway. That’s why using the correct pressure and motion is key to preventing unnecessary wear and tear when pressure washing asphalt.
Four Steps to Safely Pressure Wash an Asphalt Driveway
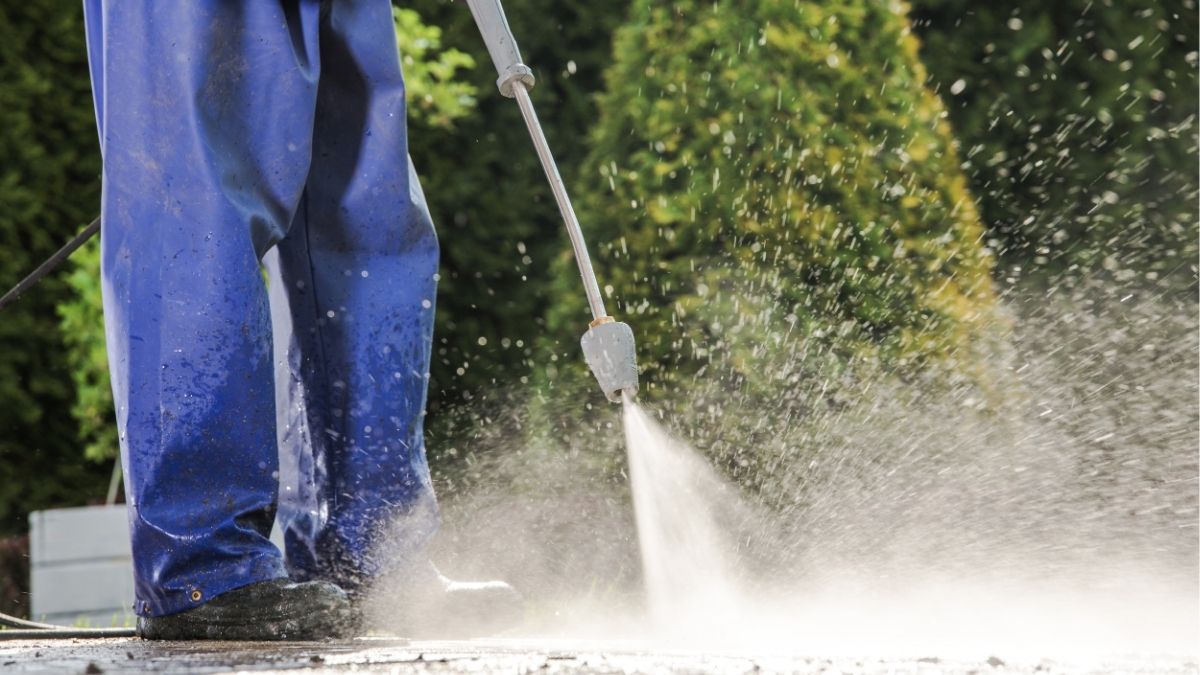
1. Choose the Right Pressure Washer Settings
Using the wrong pressure can lead to damage, so it’s crucial to set your pressure washer correctly:
- Use a pressure washer with a PSI (pounds per square inch) between 1,500 and 2,000.
- Avoid using a high-pressure jet nozzle; opt for a wide fan nozzle to distribute the pressure evenly.
- Keep the nozzle at least 12 inches from the surface to prevent direct impact from breaking the asphalt apart.
2. Pre-Treat Stains with a Safe Cleaner
Before pressure washing, treating stubborn stains can help lift them without excessive scrubbing. Citrus-based cleaners, like Big Orange, are highly effective at breaking down grease and stains without harming the asphalt oil. Here’s how to use them:
- Spray the cleaner on the affected areas and let it sit for 10–15 minutes.
- Use a stiff-bristle brush to scrub the surface gently.
- Avoid harsh chemical cleaners that could strip the essential oils from the asphalt.
3. Begin Pressure Washing Using the Right Technique
Once the stains have been pre-treated, it’s time to start pressure washing. Follow these steps for the best results:
- Start at the highest point of the driveway and work your way down.
- Move the wand in sweeping, even motions to avoid focusing on one spot for too long.
- Use a surface cleaner attachment if available, as it helps spread out the pressure and provides a more uniform clean.
4. Rinse and Allow the Sun to Dry the Surface
After you’ve finished pressure washing and figured out how to remove asphalt stains, ensure the driveway is thoroughly rinsed with a garden hose to eliminate any last traces and cleaner residue. Let the sun naturally dry the surface to avoid water pooling, which will weaken the asphalt over time.
Additional Tips to Prevent Damage
To truly maximize your investment in your asphalt driveway, it’s essential to consider several key maintenance factors alongside the cleaning process. These practices can help you maximize your investment and extend the lifespan of your driveway well beyond the average, ensuring you receive the best value for your initial driveway installation cost in 2025.
- Use low-pressure settings whenever possible: While higher pressure might seem practical, it can do more harm than good.
- Avoid excessive pressure on cracks and weak spots: High pressure can widen existing cracks and cause further damage.
- Reapply sealant periodically: To protect your driveway, apply an asphalt sealant every 2–3 years to maintain its strength and appearance.
- Choose the right time for cleaning: Cleaning your driveway on a warm, sunny day helps it dry faster, reducing potential water damage.
Maintain Your Asphalt Driveway the Right Way
Pressure washing an asphalt driveway can help restore its appearance, but improper technique can lead to damage. Using the correct pressure settings, safe cleaning solutions, and a steady hand, you can effectively clean your driveway without compromising its integrity. Always prioritize gentle cleaning methods and periodic maintenance to keep your asphalt driveway in the best condition possible. If you need professional assistance, contact Richfield Blacktop today.