


Asphalt driveways are popular for homeowners due to their durability and aesthetic appeal. However, over time, cracks and potholes can develop, diminishing your driveway’s overall look and functionality. Fortunately, with the right tools and techniques, you can repair these issues and restore your asphalt driveway to its former glory.
This comprehensive guide will walk you through the step-by-step process of repairing cracks and potholes in your asphalt driveway. We will cover everything from preparing the surface to applying the necessary repair materials. So let’s get started!
Preparing the Asphalt Driveway
Before you can begin the asphalt repair process, it’s crucial to prepare the surface of your asphalt driveway. Proper preparation will ensure the repair materials adhere effectively and provide long-lasting results. Here are the steps to follow:
Clearing Debris
Start by removing debris from the cracks and potholes, such as leaves, dirt, and loose rocks. A broom or leaf blower can effectively sweep away the surface debris.
Cleaning the Surface
Next, thoroughly clean the driveway’s surface to remove dirt, oil stains, or vegetation. Use a pressure washer or a scrub brush with a degreaser to eliminate oil stains effectively. Use a scraper or pressure washer to lift it off the surface for moss or vegetation.
Drying the Surface
Allow the driveway’s surface to dry completely before proceeding with the repairs. This will ensure the repair materials adhere properly and provide a seamless finish. This may take a few hours or up to a day, depending on the weather conditions.
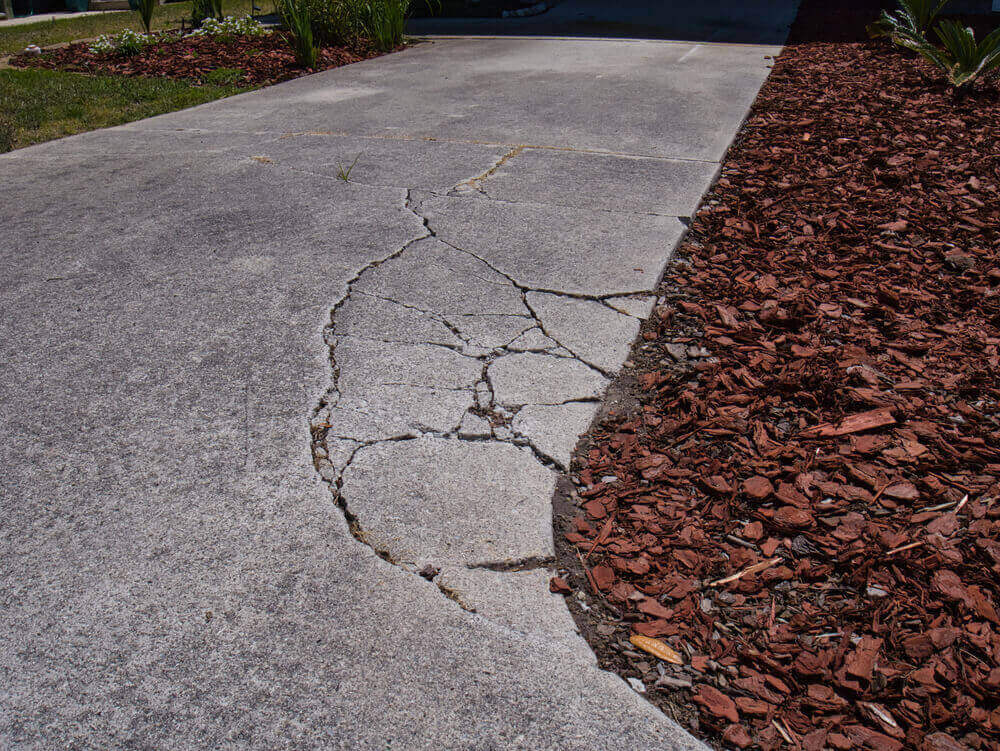
Repairing Asphalt Driveway Cracks
Cracks in your asphalt driveway can be unsightly and lead to further damage if left unattended. Here are the steps to repair cracks effectively:
Cleaning the Cracks
Remove loose debris or vegetation from the cracks using a wire brush or a crack-cleaning tool. This will create a clean surface for the repair materials to adhere to.
Filling the Cracks
For smaller cracks, you can use a crack filler product specifically designed for asphalt repairs. Apply the crack filler using a caulk gun or squeeze bottle, ensuring the crack is completely filled. Smooth the filler using a putty knife or trowel, and allow it to dry according to the manufacturer’s instructions.
Repairing Alligator Cracks
If you have alligator cracks resembling the pattern of an alligator’s skin, they may require additional attention. These cracks are usually more extensive and may require a patching compound or asphalt repair mix.
Mix the patching compound or repair mix according to the manufacturer’s instructions, and apply it to the alligator cracks using a trowel or putty knife. Smooth the surface and allow it to dry thoroughly before applying a sealant.
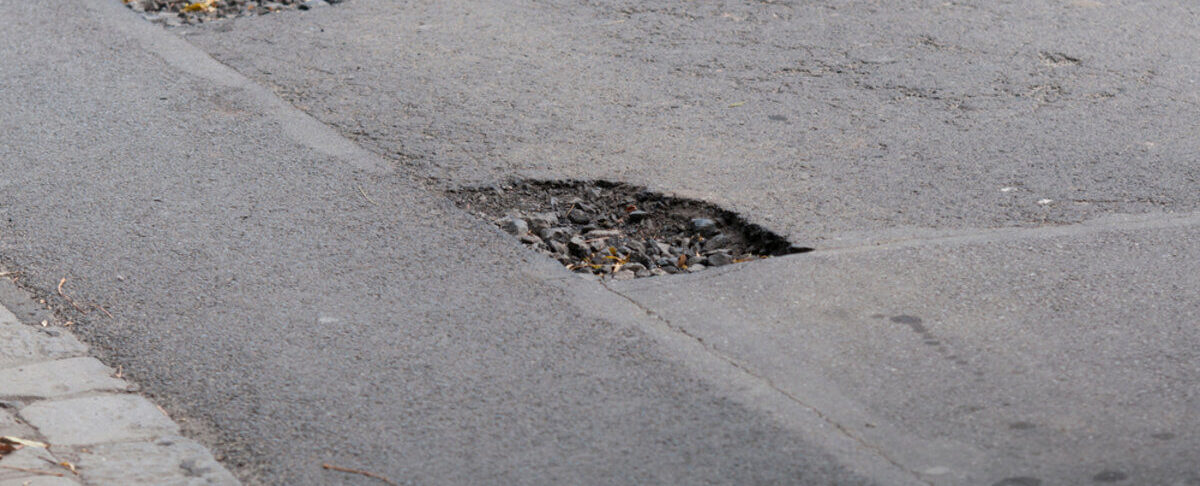
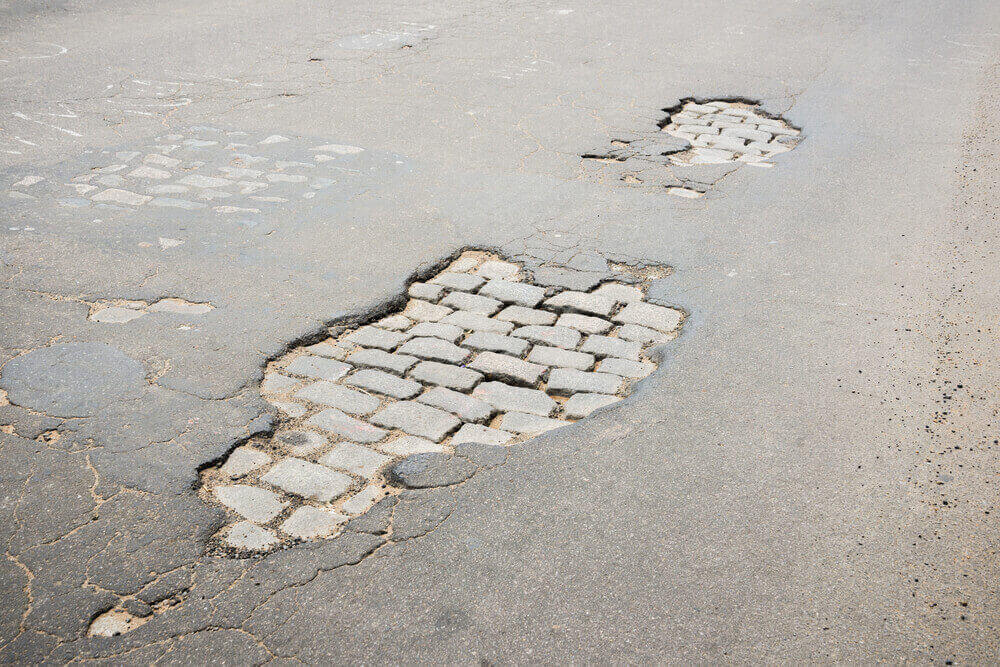
Patching Asphalt Driveway Potholes
Potholes can be a major inconvenience and cause further damage to your driveway if not repaired promptly. Here’s how you can patch potholes effectively:
Clearing the Pothole
Remove loose debris or vegetation from the pothole using a shovel or broom. Ensure the pothole is clean and free of any loose materials before proceeding.
Filling the Pothole
For smaller potholes, you can use a cold patch asphalt repair mix. Simply pour the mix into the pothole, slightly overfilling it to ensure proper compaction. Use a tamper or the back of a shovel to compact the mix, ensuring it is level with the surrounding surface.
For larger potholes, you may need to remove and replace the damaged asphalt with fresh asphalt. A professional asphalt contractor, such as Richfield Blacktop, best do this.
Curing and Sealing
Allow the patch to cure according to the manufacturer’s instructions before sealing the repaired area. Once the patch is fully cured, apply a high-quality sealant to protect the surface and ensure longevity.
Sealing the Asphalt Driveway
Sealing your asphalt driveway is essential in maintaining its appearance and prolonging its lifespan. Here’s how you can seal your driveway effectively:
Choosing the Right Sealant
Various types of sealants are available for asphalt driveways, including coal tar-based sealers and acrylic-based sealers. Research the different options and select a sealant that suits your needs and preferences.
Applying the Sealant
Start by sealing the edges of your driveway using a brush or paint roller. This will ensure a clean and neat finish along the edges. Then, using a squeegee or sealant applicator, apply the sealant evenly across the entire surface of the driveway. Work in small sections to ensure thorough coverage.
Allowing the Sealant to Dry
Allow the sealant to dry according to the manufacturer’s instructions before walking or driving on the driveway. This typically takes 24 to 48 hours, depending on the weather conditions.
Additional Tips and Considerations
Repairing cracks and potholes in your asphalt driveway can be challenging, but with the right tools, materials, and techniques, it can be done successfully. Here are some additional tips and considerations to keep in mind:
- Safety First: When working with asphalt repair materials, always wear protective gear, such as gloves and safety glasses, to protect yourself from potential hazards.
- Regular Maintenance: To prolong the lifespan of your asphalt driveway, it’s important to perform regular maintenance, such as cleaning, sealing, and addressing any issues promptly.
- Professional Assistance: If you’re unsure about tackling the repairs yourself or if you have extensive damage on your driveway, it’s recommended to reach out to a professional asphalt driveway contractor, like Richfield Blacktop, to ensure a high-quality repair job.
- Weather Conditions: It’s essential to consider the weather conditions when planning your repairs. Avoid making repairs during rainy or freezing conditions, as this can affect the adhesion and drying process of the repair materials.
- Preventative Measures: To minimize future damage, consider implementing preventative measures, such as installing proper drainage systems and avoiding heavy vehicles or machinery on the driveway.
Remember, maintaining your asphalt driveway is an ongoing process, and regular inspections and repairs will help to extend its lifespan and keep it looking its best.
Conclusion
Repairing cracks and potholes in your asphalt driveway is a manageable task that can be accomplished with the right tools, materials, and knowledge. By following the steps outlined in this guide, you can effectively repair your driveway and restore its functionality and appearance.
If you’re unsure about the repair process or have extensive damage on your driveway, don’t hesitate to reach out to a professional asphalt contractor, such as Richfield Blacktop, for assistance. With our expertise and experience, they can ensure a high-quality repair job that will protect your driveway for years to come. Contact Richfield Blacktop today if your asphalt driveways need cracks and potholes repaired.