


Oil stains on your driveway can be more than just an eyesore. They can compromise the success of any future resurfacing or sealcoating work. We often get asked about the best way to handle oil spots on driveway surfaces before asphalt repair begins. It’s a critical step many homeowners overlook, but one that can make or break the results of your new pavement layer.
Why Oil Spots Must Be Removed Before Resurfacing
Addressing oil stains before resurfacing is essential for proper adhesion and longevity. Here’s a deeper look into why tackling these problems is necessary before proceeding with asphalt work. This is a crucial step if you want to know how to clean asphalt driveway stains.
The Problem with Oil and Asphalt Bonding
Oil breaks down asphalt binders. If left untreated, oil spots can prevent new asphalt or sealer from properly bonding to the existing surface. That leads to peeling, flaking, or early cracking once your driveway is resurfaced. Removing oil contamination helps ensure your investment lasts.
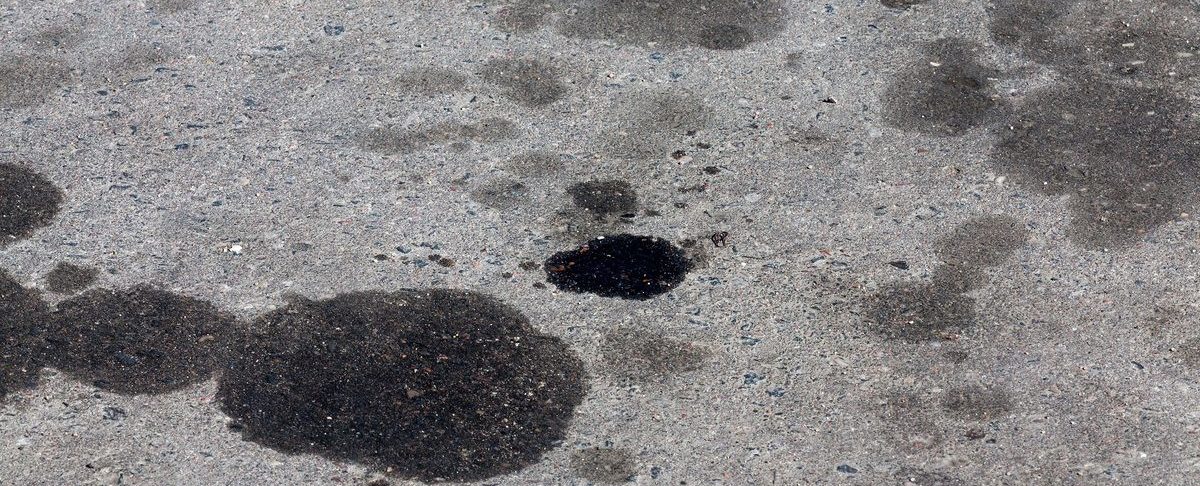
Signs of Oil Damage on a Driveway
Some oil spots may appear as dark stains, but more severe damage can cause soft patches or surface breakdown. If your driveway has these signs, they must be addressed before proceeding with any new pavement layer.
Taking care of these issues early can help avoid unnecessary repairs or future resurfacing failures. By identifying and resolving problems before they escalate, you can ensure the longevity and integrity of the surface, ultimately saving time, money, and effort.
Step-by-Step Guide to Removing Oil Spots on Driveway Pavement
Getting rid of oil stains is not complicated, but it does require a few essential steps.
Step 1: Blot and Scrape
Start by blotting fresh spills using absorbent materials like kitty litter, sawdust, or baking soda. Let it sit for several hours to soak up as much oil as possible. Then, sweep or vacuum the material and use a plastic scraper to remove any hardened buildup.
Step 2: Use a Degreaser or Cleaner
Next, apply a degreasing agent specifically made for asphalt. Products designed for automotive or concrete use also work well on driveway surfaces. Scrub the area with a stiff-bristle brush and let the solution sit for 15 to 30 minutes.
Step 3: Rinse and Repeat if Necessary
Rinse the area thoroughly with water. Repeat the process if the stain is still visible or the surface feels slick. Some older stains may require two or three treatments before entirely breaking down.
Cleaning any oil spots thoroughly is essential to achieving the best results when resurfacing or sealing your asphalt driveway. A deep cleaning not only improves the driveway’s appearance but also ensures that the new surface adheres properly, providing lasting durability and protection.
How We Prepare Driveways for Resurfacing at Richfield Blacktop
A strong finish starts with a clean, stable base, which is why we take the prep process seriously. This is an essential first step in any asphalt driveway care guide for a long-lasting result.
Inspection and Surface Evaluation
Before we begin resurfacing, we inspect the entire driveway. We look for oil damage, cracks, and drainage issues. If oil contamination is present, we treat it ourselves or guide you through the removal process to ensure the surface is ready.
Oil Spot Primers and Binders
In cases where some oil residue remains even after cleaning, we use professional-grade bonding agents or primers that allow asphalt to stick securely. These materials are especially useful for larger spots or older stains.
Proper surface preparation is one reason our resurfacing projects hold up season after season, even under the stress of Minnesota winters.
Tips to Prevent Future Oil Spots
Once your driveway is resurfaced, keeping it in top condition helps protect your investment.
Regular Maintenance and Cleaning
Check your driveway monthly for new oil stains, especially if you park vehicles that may leak. Clean minor spots right away before they soak in. Keeping your surface clean helps you spot minor problems before they grow.
Consider Driveway Sealcoating
Sealcoating every 2–3 years adds a protective layer, making it harder for oil, gas, and other fluids to penetrate the surface. This also helps improve snow removal in the winter and reduces weather-related damage.
Keeping oil off your driveway protects the look of your home and extends the life of your asphalt.
When to Call a Professional for Help
Some stains are more stubborn than others, and that’s when it’s time to bring in the pros. Resurfacing a driveway is an investment, and starting with a clean, oil-free surface ensures the best results.
Deep Stains and Surface Damage
Professional treatment is likely needed if your driveway has deep-set oil spots that have caused surface crumbling or texture loss. We use tools and products that are more effective than over-the-counter options.
Preparing for a Resurfacing Project
Before any driveway resurfacing or overlay, it’s best to schedule a consultation. We’ll help assess the condition of your pavement, treat any oil contamination, and make sure your new surface adheres correctly. This kind of expert preparation leads to better-looking results and longer-lasting durability.
Get Your Driveway Ready for Long-Lasting Results

If you’ve been wondering how to deal with oil spots on your driveway before resurfacing, the answer is clear: address the stains before applying any new material. Proper removal improves the bond between new asphalt and your existing surface, helping your pavement last longer and look better. Taking time to prep your driveway now can save you from premature cracking, flaking, and costly repairs down the road.
Contact Richfield Blacktop today to schedule your free resurfacing consultation and driveway prep evaluation. We’re ready to help you restore your pavement with lasting results. Our strong warranties and attentive service give you peace of mind, knowing your resurfaced driveway is built to last even through Minnesota’s most brutal winters. Your driveway deserves expert care; let us help you get it done right.