


When it comes to constructing a durable and long-lasting asphalt driveway, proper ground preparation is crucial. One of the most popular choices for driveways is an asphalt surface. Asphalt driveways offer a smooth and aesthetically pleasing finish while providing durability and resilience to withstand varying weather conditions and heavy vehicle traffic.
The Process for Laying an Asphalt Driveway

To ensure the longevity and functionality of your asphalt driveway, it is essential to follow the correct ground preparation steps. These steps involve removing the old pavement, grading and sloping the surface, preparing a stable sub-base, testing and repairing weak areas, applying the binder layer, installing the surface asphalt, creating smooth transitions with butt joints, and allowing sufficient curing time before sealcoating. By following these steps, you can ensure a well-constructed and durable asphalt driveway.
Demolition and Clearing of Old Pavement
The first step in preparing the ground for an asphalt driveway is to remove any existing pavement. Whether it’s old asphalt, concrete, or other materials, clearing the area ensures a clean slate for the new driveway. Removing the old pavement is essential as it eliminates any potential issues or weaknesses that may affect the integrity of the new asphalt surface.
The process of demolition and clearing involves using heavy machinery such as bobcats and forklifts to break up and remove the old pavement. If you don’t have access to this equipment, you can rent it from equipment rental companies. It is crucial to handle the debris and discarded materials responsibly and dispose of them properly to minimize environmental impact.
Grading and Sloping for Effective Drainage
After the old pavement is cleared, the next step is to grade and slope the surface to ensure proper water drainage. Effective drainage is essential for preventing water accumulation, which can lead to damage and deterioration of the asphalt driveway over time. By grading the surface, you create a flat and level base that allows water to flow away from the driveway.
Grading and sloping should be done with precision to ensure that water runs off to the sides and does not pool on the surface.
Preparing the Sub-Base for Stability
A stable sub-base is crucial for an asphalt driveway, preventing shifting, cracking, and potholes. It acts as a winter frost barrier, minimizing damage from freeze-thaw cycles. Richfield Blacktop, experts in asphalt driveways, emphasizes the importance of a well-constructed sub-base with proper compaction for enduring results.
Testing and Repairing the Sub-Base
Once the sub-base is in place, it is crucial to perform a proof roll to test its strength and stability. A proof roll involves using a heavy roller to simulate the pressure and weight of traffic on the sub-base. If the sub-base flexes more than an inch under the weight of the roller, it indicates weak areas that require attention.
Undercutting is a technique used to repair soft spots in the sub-base. It involves digging down a few feet and replacing the weak soil with a stronger material, such as aggregate. This reinforcement strengthens the sub-base and ensures its ability to support the asphalt driveway.
Applying the Binder Layer
Once the sub-base is tested and repaired, the next step is to apply the binder layer. The binder layer consists of a mixture of aggregate and oil, which provides strength and cohesion to the asphalt pavement. The binder layer acts as a bonding agent between the sub-base and the surface asphalt.
The selection of the right aggregate and oil mix is crucial in achieving a durable and long-lasting binder layer. Different factors, such as climate and expected traffic load, should be considered when determining the appropriate mixture.
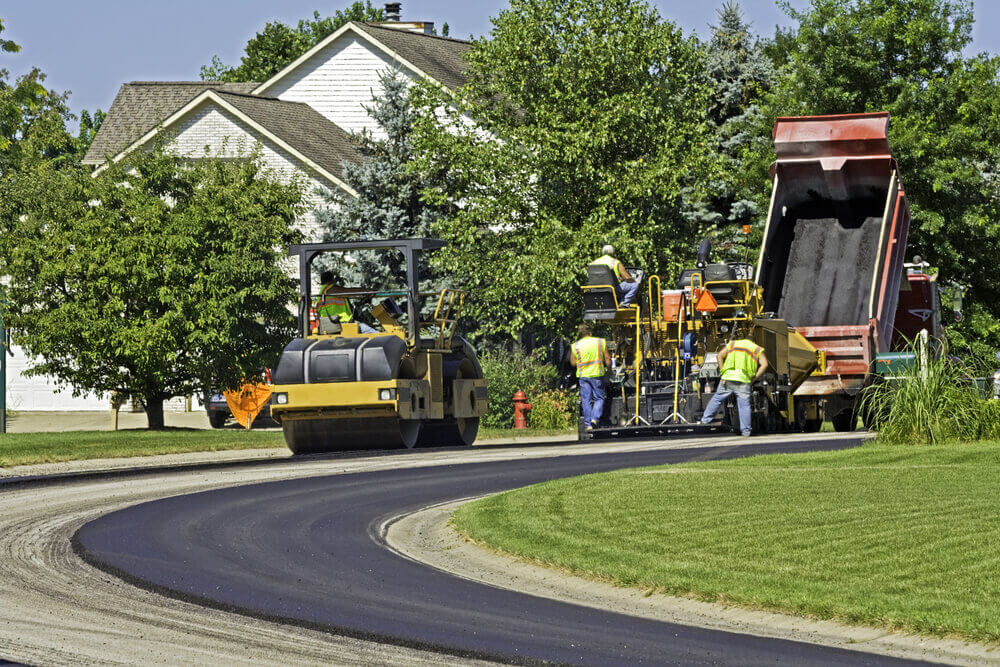
Installation of the Surface Asphalt
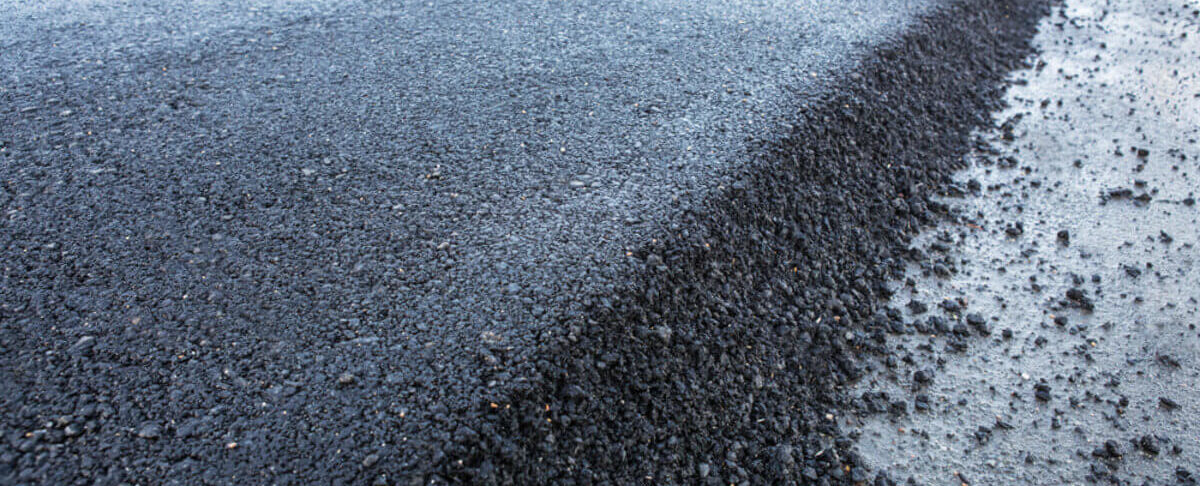
Once the binder layer is applied and cured, it is time to install the surface asphalt. The surface asphalt is the top layer that provides a smooth and attractive finish to the driveway. It is composed of small aggregate, sand, and oil, creating a visually appealing black surface.
The installation of the surface asphalt requires precision and attention to detail. It should be evenly spread and compacted to ensure a uniform and smooth finish.
Creating Smooth Transitions With Butt Joints
In most cases, an asphalt driveway connects to existing roadways, parking lots, or driveways. To create a seamless transition between the new and old surfaces, proper grading and installation of butt joints are essential. Butt joints ensure that there is no noticeable difference in height or texture between the two surfaces.
Smooth transitions with properly graded butt joints provide a comfortable and safe driving experience. Pedestrians also benefit from smooth transitions as it reduces the risk of tripping or stumbling. Richfield Blacktop understands the importance of creating smooth transitions and can ensure that your asphalt driveway seamlessly connects to existing surfaces.
The Importance of Proper Curing Time
After the installation of the asphalt driveway, it is crucial to allow sufficient curing time before applying any sealcoating. Curing time allows the asphalt to settle and harden, ensuring its longevity and durability. It is recommended to wait at least three months, and possibly up to a year, before sealcoating to allow the asphalt to fully cure.
Sealcoating is an essential step in extending the lifespan of your asphalt driveway. It provides an additional layer of protection against UV rays, water damage, and general wear and tear. However, applying sealcoating too soon can interfere with the curing process and affect the longevity of the driveway. Patience is key to ensuring the best results for your asphalt driveway.
Ensure a Durable, Long Lasting Asphalt Driveway
Proper ground preparation is essential for the successful installation of an asphalt driveway. By following the ground preparation steps outlined in this article, you can ensure a durable, long-lasting, and visually appealing asphalt driveway. From the demolition and clearing of old pavement to the installation of surface asphalt, each step plays a crucial role in creating a functional and aesthetically pleasing driveway. Contact Richfield Blacktop today to get a free quote for an asphalt driveway.